 Pin it
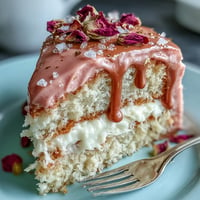
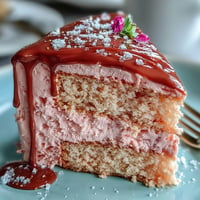
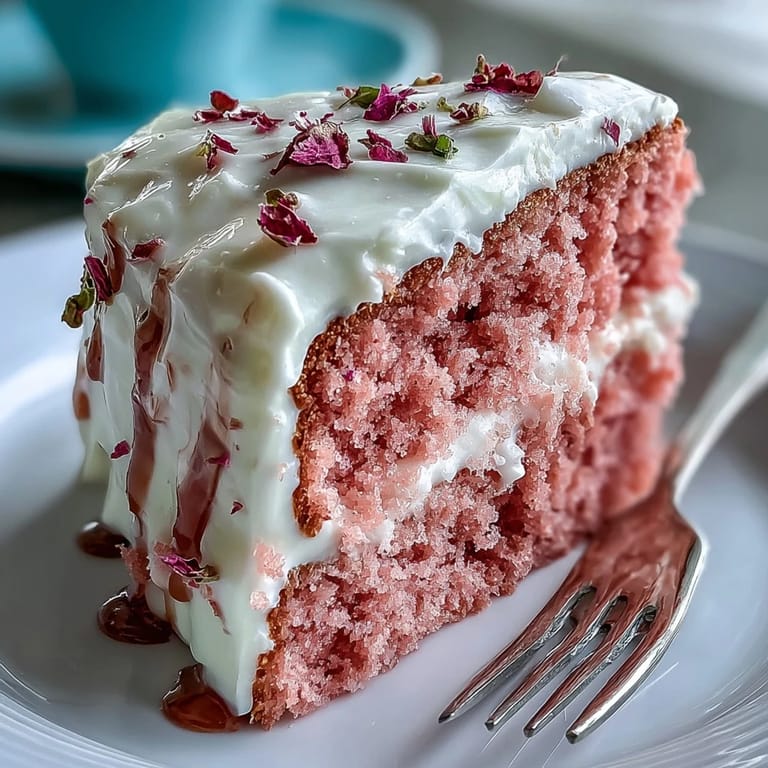
 There was one afternoon when the scent of vanilla mingled with the crisp pop of rosé in my kitchen, filling the air with an anticipation that felt almost celebratory. Making this Rosé Velvet Cake was less about precision and more about giving in to a sense of occasion—like practicing a toast before anyone has arrived. Pink batter, golden decoration, and the gentle swish of a spatula all turned cake-baking into an event before the party even started. Maybe I smiled each time I glimpsed that pastel color blooming stronger as I added the gel coloring. There’s something liberating about baking for the joy of it, even when you know the cake will look almost too pretty to cut.
The first time I unveiled this cake at a friend’s bridal shower, everyone gasped—a genuine, delighted hush. I caught someone sneaking a taste of cream cheese frosting off the spatula while the gold paint dried, and it felt like all of us were twelve again, giggling around a kitchen island. Watching the drip settle, I realized the prettiest cakes often come from moments filled with laughter and loosened schedules. We forgot about seating charts and just celebrated. That shared sweetness—both literal and figurative—lodged this recipe in my party playbook for good.
Ingredients
- All-purpose flour: Sifted for lightness, it provides the cake’s silky crumb—avoid scooping directly from the bag to prevent dryness.
- Cornstarch: This little addition keeps the cake extra soft, a trick I learned after my first, denser attempt.
- Unsweetened cocoa powder: Just enough to add depth without overpowering the wine, and it helps the pink color shine.
- Baking soda: Essential for rise—make sure yours hasn’t lingered past its prime in the pantry.
- Salt: Only a pinch, but it sharpens every flavor note, especially in a subtle cake like this.
- Unsalted butter: Room temperature is non-negotiable for proper creaming; cold butter won’t catch enough air.
- Granulated and light brown sugars: The mix brings both sweetness and caramel-like flavor, essential for a cake that isn’t too sugary.
- Eggs: Let them lose their chill so the batter emulsifies perfectly—trust me, it’s worth the wait.
- Rosé wine: The star ingredient; use something you’d happily drink and sniff for a real bouquet.
- Buttermilk: Mellow tang helps the crumb stay tender and elevates the rosé notes.
- Vanilla extract: Rounds out the flavors—good vanilla really lingers.
- Pink gel food coloring: A tiny squeeze creates show-stopping pinkness, but skip it for a paler, more natural vibe.
- Cream Cheese: The heart of the frosting—full-fat works best for smoothness and stability.
- White chocolate chips and heavy cream: These blend into that dreamy gold-dipped drip; go slow with the heating so it doesn’t seize.
- Edible gold luster dust and clear vodka/lemon extract: Turning chocolate to gold feels magical—use just a drop or two for a smooth paint.
- Optional decorations: Edible flowers or berries always take it over the top, especially when color-matched to your party.
Tired of Takeout? 🥡
Get 10 meals you can make faster than delivery arrives. Seriously.
One email. No spam. Unsubscribe anytime.
Instructions
- Prep the pans and ingredients:
- Grease three 8-inch pans, line the bottoms, and let your butter, eggs, and cream cheese come to room temperature so everything blends evenly.
- Sift and mix the dry:
- Combine flour, cornstarch, cocoa, baking soda, and salt in a bowl; you’ll hear a gentle thump as you whisk, aerating in the process.
- Cream butter and sugars:
- Beat butter, granulated, and brown sugars until fluffy and light—listen for the frosting-like sound signaling enough air has been incorporated.
- Add eggs and vanilla:
- Mix in eggs, one by one, scraping down between each; a little patience prevents streaky batter.
- Combine liquid ingredients:
- Pour the rosé and buttermilk into one jug—watch the slight fizz—and keep it nearby.
- Alternate flour and rosé:
- With the mixer on low, add the dry mix and rosé mixture alternately, starting and ending with dry; the batter turns beautifully pink after a touch of gel coloring.
- Divide and bake:
- Spread the batter evenly in pans, smooth the tops, and bake until the house smells sweet and the centers spring back lightly to the touch.
- Cool the layers:
- Let cakes rest ten minutes in their pans, then turn out onto a rack—the release is so satisfying—until completely cooled.
- Make the frosting:
- Beat cream cheese and butter until creamy, sifting in confectioners’ sugar gradually, followed by vanilla and salt; it should be soft yet hold a peak.
- Assemble the cake:
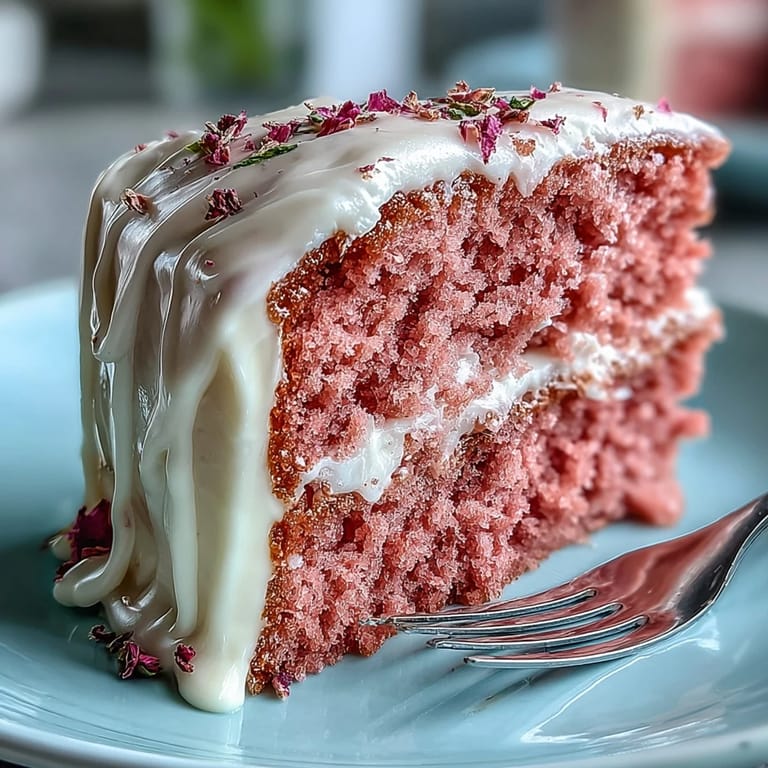
- Stack and spread frosting between layers, gathering any escapees with an offset spatula; chill so everything sets before decorating further.
- White chocolate drip:
- Gently melt chocolate chips with cream, cool slightly, then spoon along the cake top, letting it cascade over the edge in thick drips.
- Paint it gold:
- After the drips set in the fridge, use a brush to swipe gold luster paint on, turning every drip into edible jewelry.
- Final touch:
- Add edible flowers or berries—whatever feels festive—and admire your handiwork before slicing.
 Pin it
 I’ll never forget handing my friend the first, glittering slice—she paused, eyes wide, and then the room erupted in applause. That was the moment the cake felt transformed from dessert into magic, binding everyone together over sweet bites and shared happiness.
Mastering the Gold Drip (Without the Stress)
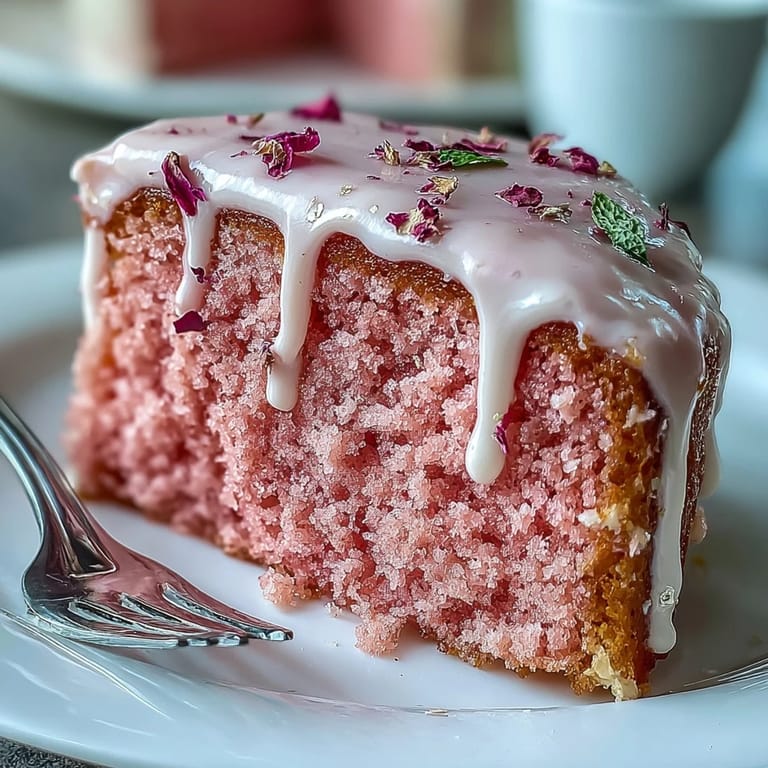
My first gold drip was messy gold fingers and giggles—not quite Pinterest-perfect, but still dazzling. The trick is letting the white chocolate cool just enough so it’s thick but still pourable, and painting only once each drip is genuinely cold. Even imperfect lines catch the light and look charming. Have some paper towels handy and don’t sweat if it’s not flawless. Remember, sparkle makes people smile more than symmetry ever could.
Assembling Layers Like a Pro
Stacking cake layers can be an act of trust, especially if you’re racing a warm kitchen and fluffy frosting. I once propped a leaning cake with an offset spatula as backup, wiping away nervous smears with my finger. Chilling the cake for half an hour before the gold drip gives every layer time to settle and firm up. If edges are wonky, extra frosting is your friend—it smooths flaws and holds everything together. Stagger the layers slightly for whimsy, or line them up for a more formal finish.
Customizing for Any Occasion
The real beauty of this cake is how easily it adapts—swap rosé for pink grape juice for a kid-friendly party, or add edible flowers that match the season for subtle flair. Spreading a little jam between the layers adds both flavor and a touch of drama when you cut. If you’re short on time, bake the layers ahead and freeze them—just defrost and decorate the day of your event. For a truly dazzling look, brush a little extra gold luster on top of edible flowers just before serving.
- Gold luster dust goes further than you think—start with less.
- Let everyone see the cake before you slice—it’s a showstopper.
- Don’t stress over perfection; enthusiasm beats neatness every time.
 Pin it
 Whether you’re baking for a bridal shower or just to make an average weekend feel special, this Rosé Velvet Cake always brings the party. Enjoy every messy, sparkling moment—it’s worth every crumb.
Recipe FAQs
- → What type of rosé works best?
Choose a dry, fragrant rosé with bright berry notes; it adds subtle acidity and aroma without overpowering the cocoa and cream cheese.
- → Can I make a non-alcoholic version?
Yes. Substitute equal parts pink grape juice or sparkling cider for the rosé to retain color and fruity flavor while keeping the batter moist.
- → How do I prevent layers from sinking?
Avoid overmixing once flour is added, bake until a toothpick comes out clean, and allow pans to cool 10 minutes before turning out to set the crumb structure.
- → How do I get a smooth gold drip?
Heat white chocolate with cream until just smooth, cool slightly, then spoon around edges. After the ganache sets, mix luster dust with a few drops of clear alcohol or lemon extract to paint an even gold finish.
- → How long can the finished cake be stored?
Store chilled in an airtight cake box for up to 3 days. Bring to room temperature 30–60 minutes before serving for best texture and flavor.
- → Any tips for vibrant pink layers?
Use a concentrated gel dye sparingly and add a touch at a time until you reach the desired hue; natural rosé and cocoa produce a softer blush if preferred.