 Pin it
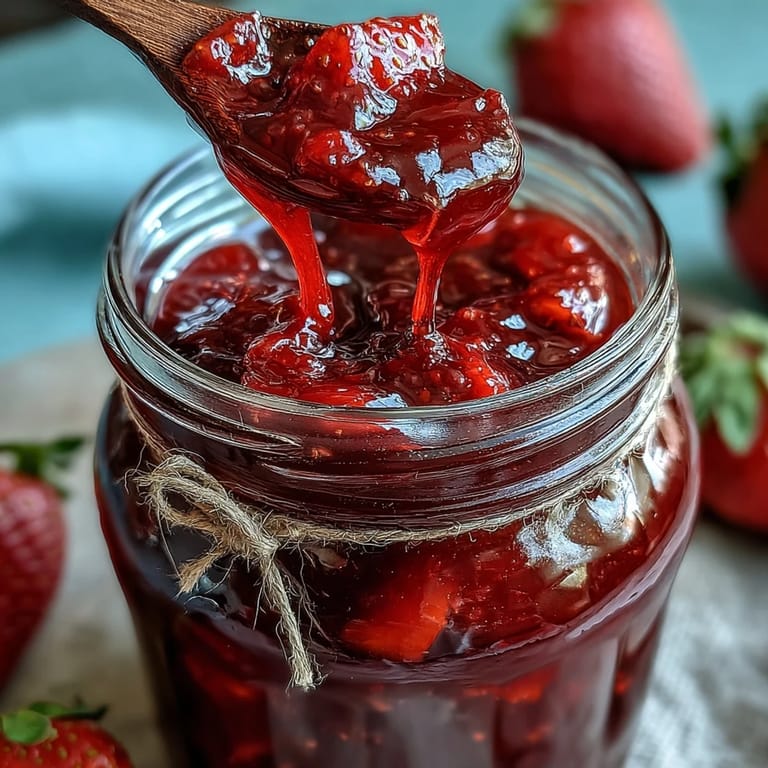
 On a breezy Saturday morning last spring, the air in my kitchen suddenly filled with the scent of sun-warmed strawberries I’d lugged home from the corner market. Preparing this strawberry jam felt more like play than work, with ruby juices staining my fingers and the gentle simmer of fruit calling everyone to gather near. I remember laughing as I tried to peel a stubborn label from a recycled jar, determined to keep things as charmingly unpolished as possible. Cottagecore vibes aside, there’s pure satisfaction in knowing exactly what goes into these little pots of sticky-sweet happiness. Even the quiet pop of a sealing lid feels like a tiny celebration.
The first time I gifted this jam, I wrapped the jars with bits of old fabric and twine, expecting polite nods. My friends ended up opening them right at the table, spreading thick swirls on toast while complimenting the flecks of vanilla and the honest, homemade flavor. I realized then how sharing something so simple can spark its own little moment of delight.
Ingredients
- Fresh strawberries: Pick berries that are fully ripe, vibrant, and sweet—underripe ones will make your jam dull and flat.
- Granulated sugar: Besides sweetness, sugar helps the jam set and brightens its color—resist the urge to cut back too much or you’ll miss that perfect jammy consistency.
- Freshly squeezed lemon juice: A splash of acidity balances the sweetness and ensures your jam keeps its bright notes; I learned too little and it tastes flat.
- Vanilla bean or extract (optional): Just a whiff deepens the charm; I like splitting the pod and leaving seeds for speckles, though vanilla extract works in a pinch.
Tired of Takeout? 🥡
Get 10 meals you can make faster than delivery arrives. Seriously.
One email. No spam. Unsubscribe anytime.
Instructions
- Mash the berries:
- Tumble your fresh strawberries into a heavy-bottomed saucepan and crush about half with a potato masher—leave enough chunky texture for that classic homemade jam feel.
- Add sugar and lemon:
- Stir in the sugar and lemon juice, then let everything mingle for ten minutes so the juices start to gather with a promise of gorgeous flavor.
- Scent with vanilla:
- Scrape in vanilla bean seeds and tuck in the pod, or splash in vanilla extract—already the saucepan smells invitingly sweet and floral.
- Gently cook:
- Bring the mixture to a soft boil over medium heat, stirring to help sugar dissolve; you’ll notice bubbles and a gentle fizz as the magic begins—skim off any foam that rises.
- Test for doneness:
- Simmer and stir until thickened and your thermometer reads 105C, or check with a plate: drop some jam on a cold plate and nudge it—if it wrinkles slightly, it’s ready.
- Jar and seal:
- Remove from the heat, fish out the vanilla pod, and let the jam rest for five minutes before ladling it into sterilized jars—careful, it’s steamy.
- Cool and store:
- Pop on the lids, cool the jars at room temp, then store in the refrigerator—open one when you’re craving a sliver of early summer.
 Pin it
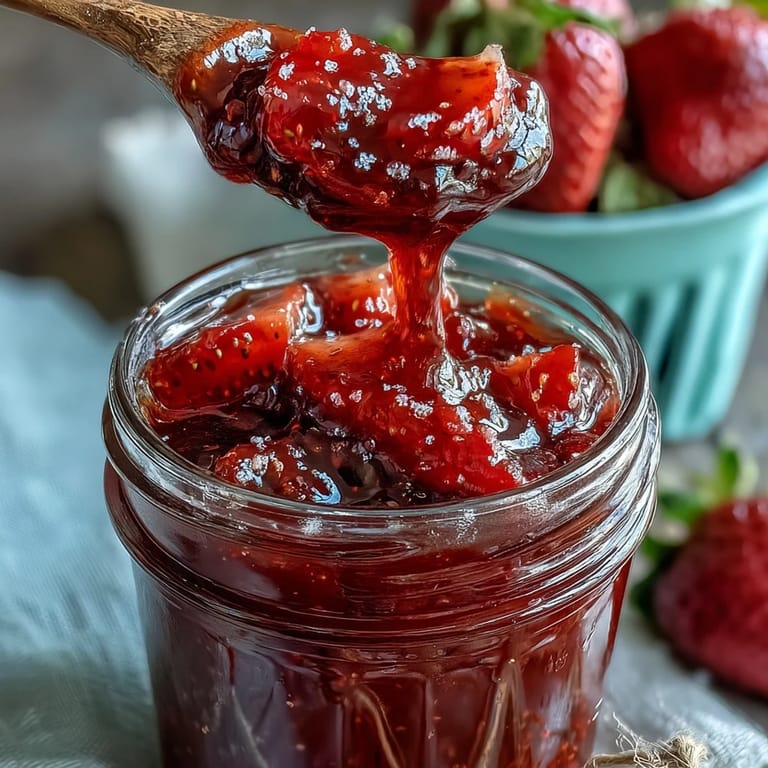
 I’ll never forget the late afternoon when my neighbor peeked in, lured by the bright, syrupy scent wafting from my kitchen window. We ended up drinking tea with warm toast and jam straight from the pot, chatting about gardens and rain—it was the kind of unexpected pause that turns an ordinary recipe into a keepsake memory.
How to Store Your Homemade Jam
Once cooled, I stack my jars in the fridge, though sometimes I jot the date on a label for peace of mind. If you want to keep them longer, a quick ten-minute water bath lets you tuck away jars for months without worry.
Serving Suggestions That Never Fail
I’ve dolloped this jam onto fresh scones, brightened up oatmeal, and even swirled it into yogurt for a spark of sunshine. A spoonful melted over vanilla ice cream turns dessert into something you’ll crave again tomorrow.
Thoughtful Gifting and Custom Touches
Gifted in a recycled jar with a handwritten note, this jam’s cottage-chic look brings a flutter of joy to anyone’s kitchen shelf. If you want to play, tuck a little fresh basil or thyme into the warm mixture for an herbal twist, or tie a sprig to the jar’s lid just because it’s pretty.
- Press a circle of patterned fabric under the lid for instant storybook charm.
- Always double-check that your jars are properly sterilized before filling.
- Finish with a ribbon of twine or a favorite quote on a tag for an extra-personal touch.
 Pin it
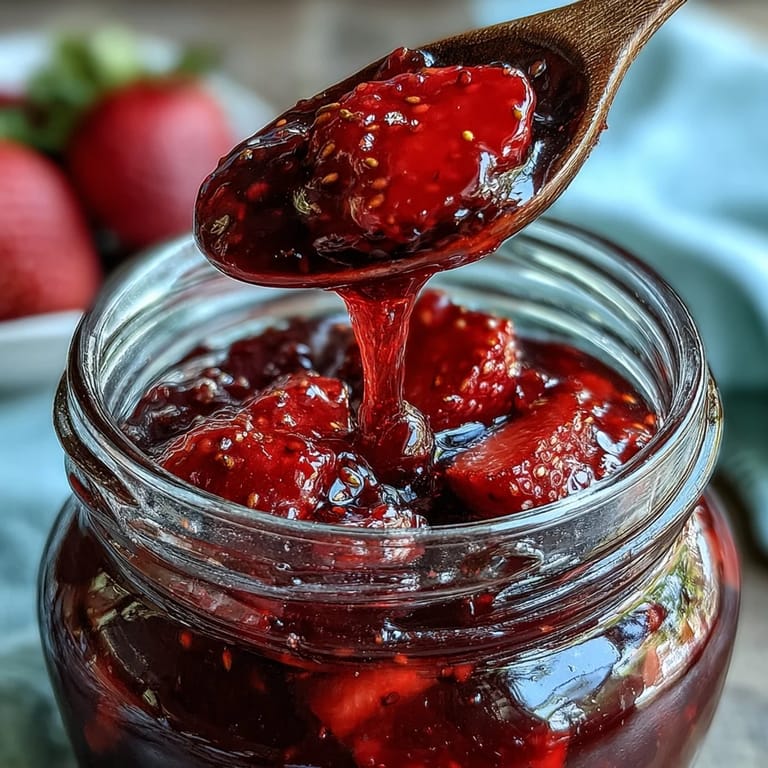
 This little batch of jam is my go-to hug in a jar, brightening even the grayest of mornings. Here’s to sharing a spoonful of something homemade and a moment that tastes like spring.
Recipe FAQs
- → How do I know when the jam is done?
Test a spoonful on a chilled plate: if it wrinkles when pushed, the mixture has reached a spreadable set. Alternatively, aim for about 105°C (220°F) on a candy thermometer for a reliable finish.
- → Can I use frozen strawberries instead of fresh?
Yes — thaw and drain excess liquid, then proceed. Frozen berries may release more juice, so cook a little longer to reach the desired thickness and watch for increased foam.
- → Why should I macerate the fruit before cooking?
Macerating with sugar and lemon draws out juices and dissolves the sugar, speeding cooking and enhancing flavor while preserving some fresh berry texture when crushed gently.
- → How can I reduce foam during cooking?
Skim foam with a spoon as it forms and stir gently but frequently. Using a wide, heavy-bottomed pan helps even heating and reduces vigorous bubbling that creates excess foam.
- → What jar and storage steps ensure best quality?
Sterilize jars and lids before filling, pour hot jam into warm jars, seal immediately, and let cool at room temperature. Refrigerate after cooling; use within about one month unless processed in a water bath for longer shelf life.
- → How can I vary the flavor without changing the method?
Add a split vanilla bean or a teaspoon of pure vanilla extract for warmth, or stir in a sprig of thyme or basil during cooking for subtle herbal notes; remove sprig before jarring.