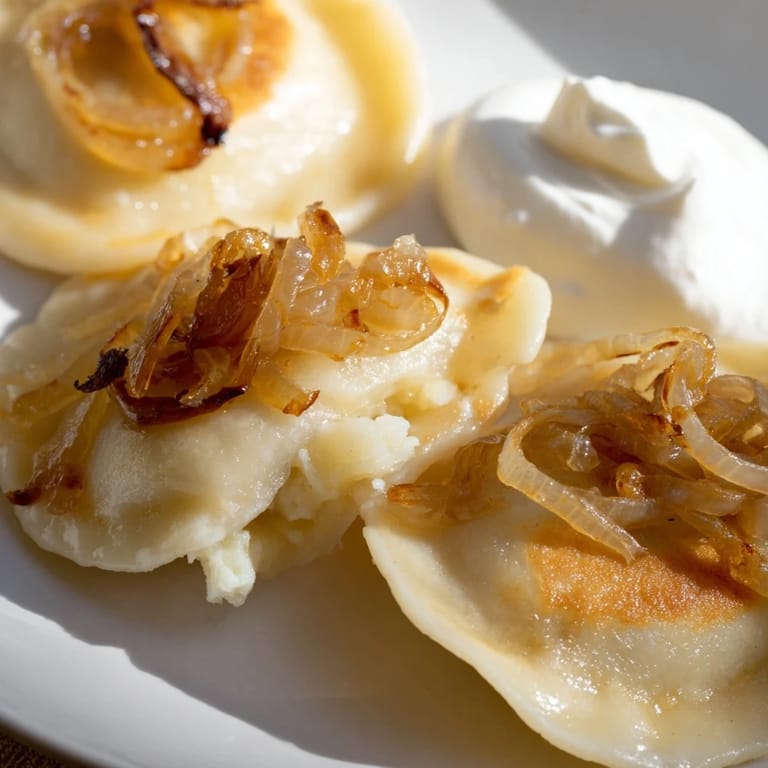
 Pin it
 My grandmother taught me pierogi in her tiny kitchen in Chicago, flour dusting every surface while she hummed Polish folk songs and her hands moved with such practiced ease that the dough seemed to come alive under her fingers. She never measured anything precisely—just felt the dough, knew when it was right, and somehow always produced perfect tender pockets filled with creamy potato and sharp cheese. Years later, I finally understood that it wasn't magic; it was muscle memory built from decades of making these for family gatherings. Now when I make them, I find myself moving the same way, my hands remembering even when my brain isn't paying attention.
I remember making these for my partner's coworkers during a potluck when we first started dating, terrified they'd be disappointed or, worse, taste obviously homemade in an unprofessional way. But watching everyone reach for thirds, wiping golden onions off their plates with the last piece of sour cream, I realized this dish speaks a language that doesn't need words—it just says, I made this for you, and I hope you feel it.
Ingredients
- All-purpose flour: The foundation of tender dough; too much and they become tough, so resist the urge to add extra flour as you knead—trust that it'll smooth out.
- Egg: Binds everything together while keeping the dough silky, not dense.
- Sour cream: This is the secret that makes these pierogi different from other dumpling doughs—it adds tang and keeps the texture tender no matter how many times you reheat them.
- Lukewarm water: Temperature matters; cold water won't hydrate properly, and hot water can scramble the egg.
- Russet potatoes: Their starch content means they mash smooth and creamy without becoming gluey, unlike waxy varieties.
- Farmers cheese or ricotta: Farmers cheese is the traditional choice because it's crumbly and doesn't melt into a paste, but well-drained ricotta works if that's what you have.
- Sharp cheddar: Don't skip the sharpness; mild cheddar disappears into the potato, but sharp makes its presence known with a subtle bite.
- Butter for caramelizing onions: Low and slow is the only way—butter won't burn like oil might, and it adds richness that becomes part of the final flavor.
Tired of Takeout? 🥡
Get 10 meals you can make faster than delivery arrives. Seriously.
One email. No spam. Unsubscribe anytime.
Instructions
- Mix and knead the dough:
- Combine your dry ingredients, then create a well in the center like you're making a little flour volcano. Add the wet ingredients and gradually pull the flour in from the sides until it comes together into a shaggy mass. Knead for five to seven minutes—you'll feel it transform from rough and sticky to smooth and elastic, and that's when you know it's ready.
- Let the dough rest:
- Cover it with a damp towel and walk away for thirty minutes. This isn't laziness; the gluten is relaxing and the flour is fully hydrating, which means your dough will be forgiving when you roll it out.
- Prepare the filling:
- Boil your potatoes until they're so tender they practically fall apart, then drain them well and mash them smooth while they're still warm. In a skillet, let butter get foamy and golden as you cook chopped onion slowly until it turns sweet and jammy, then fold it into the potatoes along with both cheeses and salt and pepper to taste.
- Form the pierogi:
- Dust your surface generously with flour and roll the dough thin—about the thickness of a dime. Cut circles with a three-inch cutter or the rim of a drinking glass, fill the center of each with a heaping teaspoon of filling (too much and they burst), fold in half, and pinch the edges to seal.
- Boil until they float:
- Work in batches so they have room to move around freely in boiling salted water. Once they float to the surface, give them another minute or two to cook through, then fish them out with a slotted spoon.
- Caramelize onions low and slow:
- Melt butter in a skillet over medium-low heat, add sliced onions, and let them cook for twenty to twenty-five minutes, stirring often. They should turn deep golden and almost jammy, sweet enough to eat on their own.
- Pan-fry to crispy perfection:
- Add the boiled pierogi to the skillet with the caramelized onions and let them fry a couple of minutes per side until they're golden and crispy on the outside but still tender within.
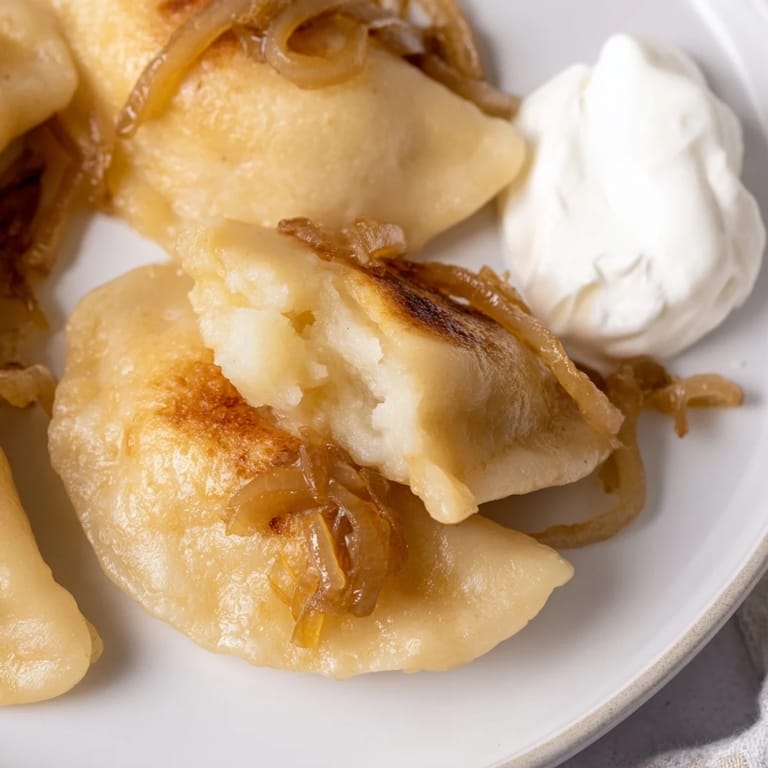 Pin it
 There's a moment when you pull a perfectly cooked pierogi from the water and watch it glisten under the kitchen light, catching the steam rising from the pot, and you understand why people have made this dish for generations. It's not just food; it's an edible expression of patience and care, and somehow that always translates into the bite.
The Freezer is Your Best Friend
One of the greatest gifts of pierogi is that they freeze beautifully at almost any stage, which means you can make a big batch on a Sunday afternoon when you have time and then pull them out whenever the craving strikes. Freeze them uncooked on a tray in a single layer, then transfer them to bags, and they'll keep for up to two months without any loss of quality—in fact, I sometimes think the flavors deepen as they sit in the cold.
Fillings Beyond Potato and Cheese
While potato and cheese is the classic and the one that made me fall in love with pierogi, these dumplings are endlessly adaptable once you understand the basic formula. Sauerkraut and caramelized onion, ground mushroom sautéed with garlic, even prune and potato for a sweet version that blurs the line between main course and dessert—the dough and cooking method stay exactly the same, so you're really just swapping one filling for another.
Serving and Storage Wisdom
Pierogi are best eaten immediately after frying, while they still have that contrast between crispy edges and tender interior, but they'll keep in the refrigerator for three to four days and can be gently reheated in a buttered skillet or even a low oven without losing their soul. The caramelized onions and sour cream are non-negotiable garnishes—they're not decoration but essential components that complete the dish, adding richness, tang, and complexity with every bite.
- If you're serving a crowd, you can boil the pierogi ahead of time and store them in the refrigerator, then pan-fry them right before serving so they're hot and crispy.
- Cottage cheese works as a substitute for farmers cheese if that's what you have on hand, but drain it very thoroughly so the filling stays firm.
- Don't skip the chives or parsley at the end—the fresh herb color and brightness against the golden onions and sour cream makes the whole plate come alive.
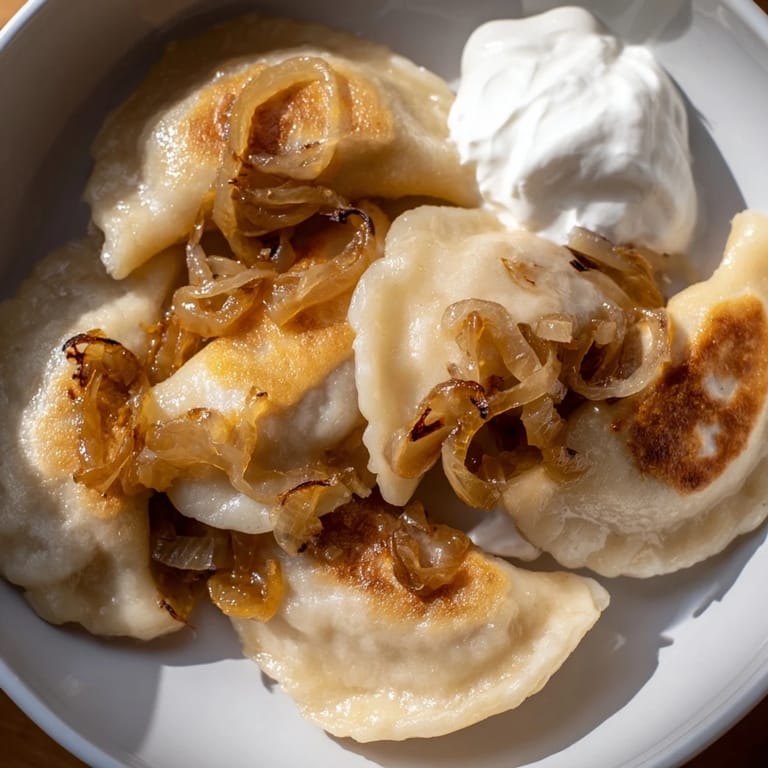 Pin it
 Making pierogi is like having a conversation with food across time and cultures, and every time I make them, I'm connecting with everyone who ever kneaded this dough before me. That alone makes them worth the effort.
Recipe FAQs
- → How do I achieve tender dough for pierogi?
Use lukewarm water and sour cream when mixing the dough, knead until smooth and elastic, and let it rest covered for about 30 minutes to relax the gluten.
- → What potatoes work best for the filling?
Russet potatoes are ideal due to their starchy texture, which mashes smoothly and binds well with the cheeses.
- → How can I prevent pierogi from sticking during boiling?
Add salt to the boiling water and stir gently when adding pierogi. Remove them as soon as they float and cook a minute more.
- → What is the best method for caramelizing onions?
Cook thinly sliced onions slowly over medium-low heat with butter, stirring often until deeply golden and sweet, typically 20-25 minutes.
- → Can I make pierogi ahead and freeze them?
Yes, freeze uncooked pierogi arranged on a tray before transferring to bags. They can be stored for up to two months.