 Pin it
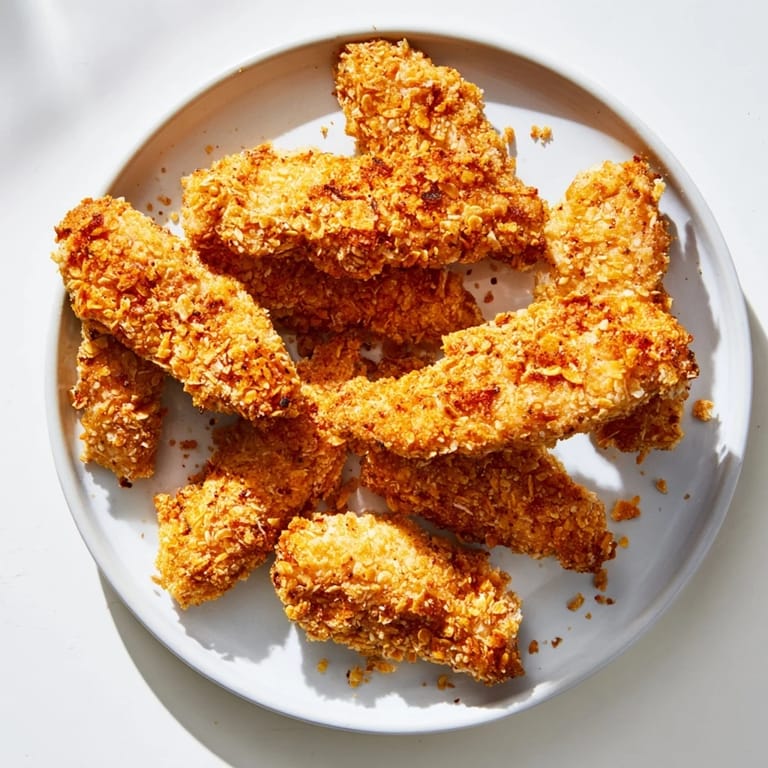
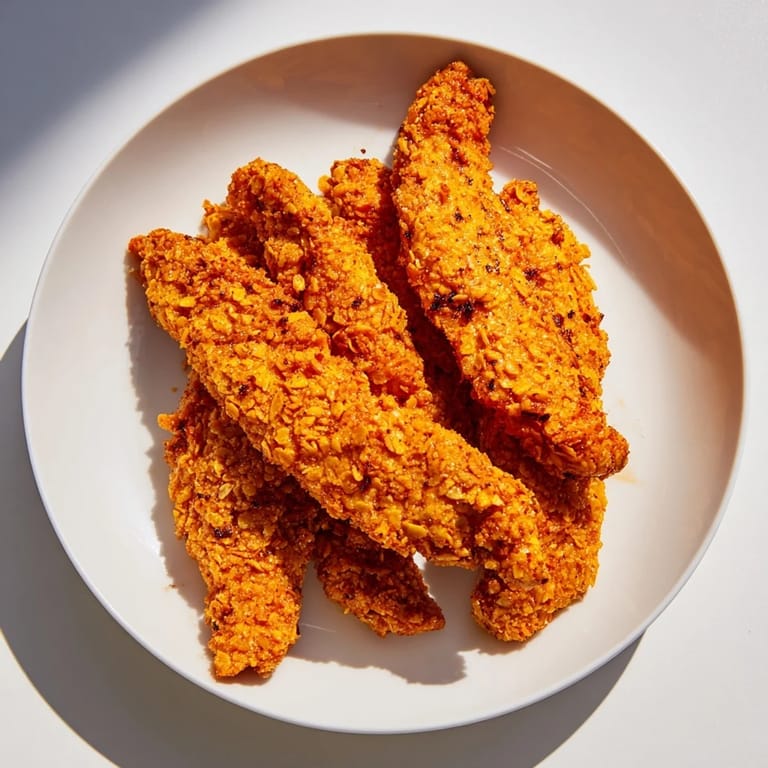
 I still remember the first time I made crispy baked chicken tenders for my nephew—he was visiting for the weekend and refused to eat anything that wasn't golden and crunchy. I was determined to prove that the oven could deliver the same magic as a deep fryer, and when he bit into that first tender and his eyes lit up, I knew I'd cracked the code. Now, these are the tenders I make whenever someone needs comfort food that feels indulgent but actually comes straight from the oven.
There's this moment that happens almost every time I make these—right when they come out of the oven, golden and crackling. Someone walks into the kitchen and says, "What is that smell?" and before I can answer, they're already asking if they can have one. It's become the fastest way to turn a regular Tuesday into something special.
Ingredients
- Chicken tenders or boneless, skinless chicken breasts (1 ½ lbs): The foundation of everything—I prefer tenders because they're already the right thickness, but breasts cut into strips work beautifully too. Pat them completely dry before breading; this is the secret to crispiness.
- Panko breadcrumbs (1 cup): These are lighter and crunchier than regular breadcrumbs, and they're what give you that restaurant-quality texture.
- Crushed cornflakes (1 cup): This is the game-changer nobody expects—they add extra crunch and a subtle sweetness that balances everything.
- Garlic powder (½ tsp): Trust me on the seasoning; it builds a savory base that makes people ask what your secret ingredient is.
- Paprika (½ tsp): This brings warmth and a hint of color to every bite.
- Salt (½ tsp) and black pepper (¼ tsp): The backbone of flavor—don't skip seasoning the breading mixture.
- Eggs (2 large) and milk (2 tbsp): Your adhesive that makes the coating stick without being heavy. The milk thins the eggs just enough to coat evenly.
- Olive oil spray or olive oil (2 tbsp): A light spray creates crispiness without deep-frying; this is what makes baking work.
Tired of Takeout? 🥡
Get 10 meals you can make faster than delivery arrives. Seriously.
One email. No spam. Unsubscribe anytime.
Instructions
- Set the stage:
- Preheat your oven to 425°F and line a baking sheet with parchment paper. This temperature is hot enough to create a golden crust quickly while keeping the inside juicy. The parchment prevents sticking and makes cleanup effortless.
- Build your breading station:
- In one shallow bowl, mix your panko, crushed cornflakes, garlic powder, paprika, salt, and pepper. In another bowl, whisk together the eggs and milk until smooth. Having these ready before you start dredging keeps the process flowing and prevents a messy kitchen.
- Prepare the chicken:
- Pat each chicken tender or strip completely dry with paper towels—this step is non-negotiable for crispiness. Moisture is the enemy of a good crust.
- Create the coating:
- Take one tender and dip it into the egg mixture, letting excess drip back into the bowl. Then press it gently into the breadcrumb mixture, turning to coat all sides. Feel for the texture—you want an even, complete coating with no bare spots.
- Arrange and spray:
- Place each coated tender on the prepared baking sheet, leaving a little space between them so heat circulates. This spacing is what keeps them crispy instead of steamed. Lightly spray or drizzle with olive oil—not too much, or they'll be greasy.
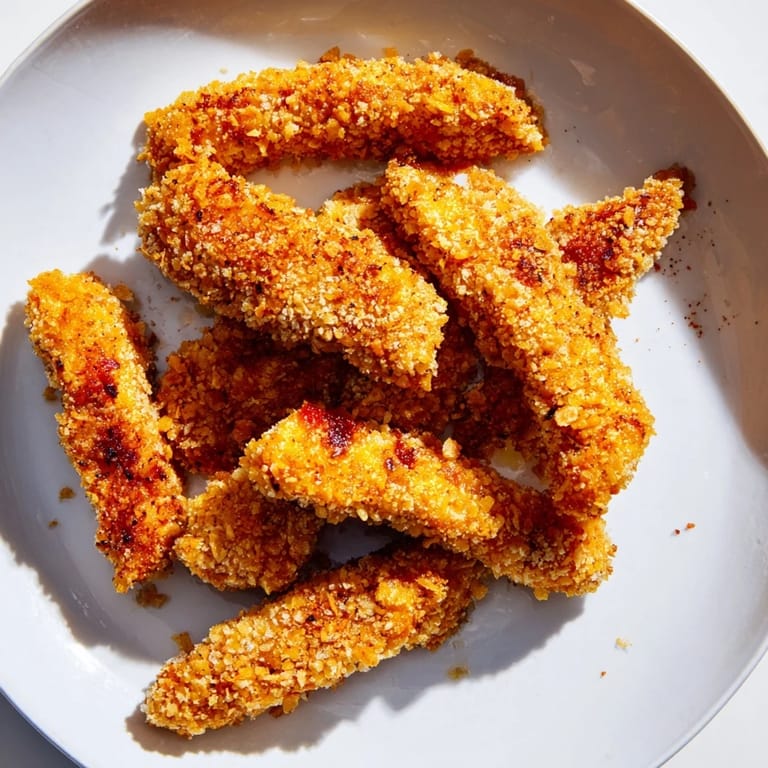
- Bake to golden:
- Bake for 18–20 minutes, flipping once halfway through. You'll know they're done when they're deep golden brown and an instant-read thermometer reads 165°F at the thickest part. That golden color is where all the flavor lives.
- Rest and serve:
- Let them sit for 2–3 minutes after coming out of the oven—this lets the exterior set. Then serve immediately with whatever dipping sauce calls to you.
 Pin it
 My best memory with these tenders happened at a family dinner when my niece, who'd been hesitant about home-cooked meals, bit into one and declared it better than any takeout. That moment when food becomes a connector, when it says "I made this with care for you"—that's what keeps me making these again and again.
The Magic of the Cornflakes
I discovered the cornflakes trick almost by accident one morning when I was out of regular breadcrumbs and grabbed what was in the pantry. The result surprised me—they add a subtle sweetness and an extra layer of crunch that panko alone can't deliver. Since then, I won't make these any other way. The combination of panko and cornflakes is like a texture conversation between delicate and toasted.
Temperature and Timing Matter
The 425°F oven temperature is specific for a reason. Hot enough to crisp the outside quickly while the inside stays tender and juicy, but not so hot that the coating burns before the chicken cooks through. I learned this the hard way by experimenting with lower temperatures—they just don't deliver that satisfying crunch. The flip halfway through is equally important; it ensures golden color on both sides and prevents one side from cooking faster than the other.
Serving and Storage Ideas
These tenders are endlessly versatile, which is part of why they've become a staple in my kitchen. Serve them with honey mustard for a touch of sweetness, ranch for classic comfort, or ketchup if you're channeling your inner kid. They're equally happy in a lunchbox the next day, though I'll confess they're best eaten fresh from the oven when they're still crackling.
- Make them ahead by breading the chicken and refrigerating for up to 4 hours before baking—this actually helps the coating adhere better
- Add a pinch of cayenne pepper to the breading mixture if you like a gentle heat that builds as you eat
- For a gluten-free version, swap the panko and cornflakes for gluten-free versions—the technique stays exactly the same and works beautifully
 Pin it
 These baked chicken tenders have earned their place at my dinner table because they deliver on every promise: they're genuinely crispy, undeniably tender, and ready in minutes. I hope they find their way into your kitchen rotation too.
Recipe FAQs
- → How do I ensure the chicken tenders stay crispy after baking?
Coating with a mixture of panko and crushed cornflakes creates a crunchy texture. Lightly spraying or drizzling olive oil before baking helps crisp the coating evenly. Letting tenders rest on a wire rack post-baking can also prevent sogginess.
- → Can I make these with boneless chicken breasts instead of tenders?
Yes, boneless, skinless chicken breasts cut into strips work well. Just ensure pieces are evenly sized for consistent cooking and crispiness.
- → What are some good dipping sauce options to pair with these tenders?
Honey mustard, ranch, and ketchup are classic choices. You can also try barbecue sauce, garlic aioli, or spicy sriracha mayo for variety.
- → Is it possible to prepare these ahead of time?
Yes, after coating, refrigerate the breaded chicken for up to 4 hours before baking. This helps the coating adhere better and fits into meal prep routines.
- → How can I make this coating gluten-free?
Replace panko breadcrumbs and cornflakes with gluten-free alternatives. Many stores offer gluten-free breadcrumbs and cornflake brands suitable for this dish.