 Pin it
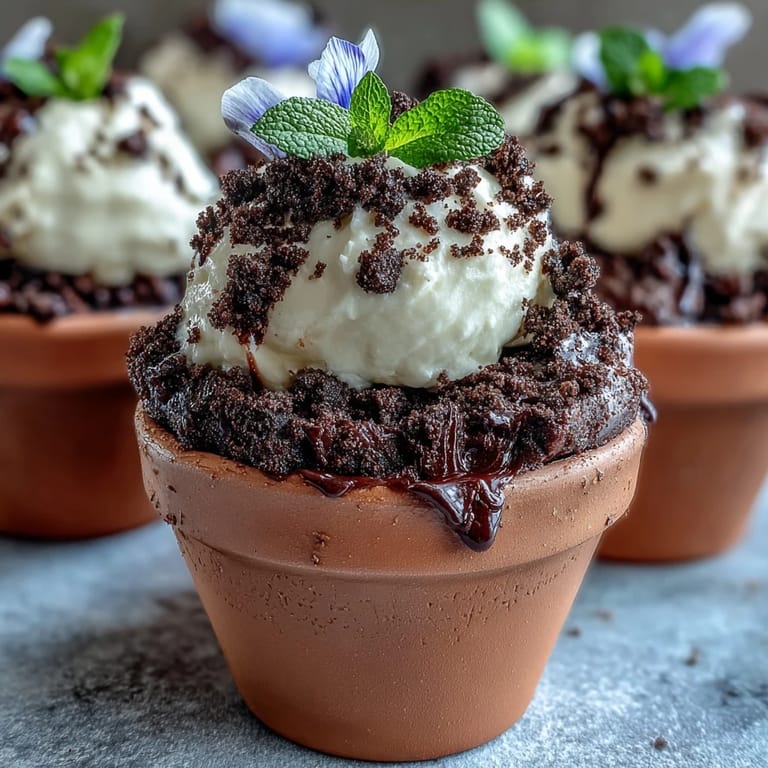
 A few springs ago, the kitchen smelled like melted chocolate and warm sugar as I filled small clay pots with just-mixed brownie batter. The idea for these whimsical Mother's Day Flower Pot Brownies came while absentmindedly flipping through a gardening magazine at a café in April—the sight of vibrant pansies planted in terracotta sparked a craving for something both playful and sweet. It was just the right kind of inspiration for a weekend spent in a sunlit kitchen, hands streaked with cocoa, planning a surprise for Mum. Despite the novelty, the process is low-stress enough that I could enjoy humming along to the radio and sneaking tastes of batter. These edible flowerpots always seem to draw smiles, equal parts delight and disbelief that dessert could look so convincingly like a potted bloom.
One memorable Sunday found me sneakily assembling the flower pots at the kitchen counter while my brother distracted our mum in the garden with stories about seed catalogs and stubborn tulip bulbs. There was flour on my shirt and cookie crumbs under my fingernails, but assembling the layers was oddly calming—like putting together a tiny edible garden. When the dessert finally appeared at the table, everyone hovered for a closer look, no one quite daring to be the first to 'dig in'. I still remember our laughter when my nephew insisted his flower was 'too pretty' to eat. Creating something that playful, just for the fun of surprising family, gave me a recipe I knew I'd reach for again and again.
Ingredients
- Unsalted butter: Melts to form the base of a moist, dense brownie; use good quality, and make sure it's fully melted but not browned for the silkiest texture.
- Granulated sugar: Gives brownies their signature chew—mix it well with warm butter for those shiny tops we all love.
- Eggs: Add richness and structure; room temperature eggs blend smoothly and prevent overmixing.
- All-purpose flour: Just enough to hold the brownies together; too much can make them cakey, so measure lightly.
- Unsweetened cocoa powder: Delivers the deep chocolatey flavor—sift first to avoid lumps.
- Baking powder: A small amount gives lift without making the brownies fluffy.
- Salt: Enhances all the sweet and chocolate notes, so don't skip it.
- Vanilla extract: Adds background warmth; real vanilla is always worth it.
- Oreo cookies: Turns into convincingly crunchy 'dirt'; keep the filling for extra richness.
- Heavy cream: Whips into a luscious topping that anchors the 'soil' and flowers; chill your bowl and beaters for maximum fluffiness.
- Powdered sugar: Sweetens your cream just enough.
- Edible flowers or colorful gummies: The show-stopping 'blooms'—be sure to confirm your flowers are food-safe.
- Fresh mint leaves: Optional, but a little mint brings a flash of garden green.
Tired of Takeout? 🥡
Get 10 meals you can make faster than delivery arrives. Seriously.
One email. No spam. Unsubscribe anytime.
Instructions
- Prep your pots:
- Give your mini flower pots or ramekins a good cleaning and line the bottoms with parchment if you can (this makes serving so much easier).
- Melt and mix:
- Melt the butter gently over low heat and whisk in sugar and vanilla—the steam should carry a sweet, toasty scent.
- Egg time:
- Add the eggs one by one, whisking until the mixture turns glossy and just starts to thicken.
- Combine the dry:
- Sift flour, cocoa, baking powder, and salt; gently fold into the wet mixture until no dry streaks remain.
- Fill and bake:
- Divide the batter (it’s a little thick—use a spoon) among the pots or spread evenly in a lined pan; tap gently to settle. Slide into the oven and inhale—they’re ready when a toothpick comes out fudgy but not wet, about 20–25 minutes.
- Cool off:
- Let brownies cool fully so the 'garden bed' isn't melty beneath your decorations.
- Make your 'dirt':
- Crush Oreos (filling and all) into fine crumbs; a processor is fastest but bashing with a rolling pin is oddly satisfying.
- Whip cream:
- Beat heavy cream and powdered sugar until the peaks are sturdy enough to hold a 'flower' upright.
- Trim if needed:
- If baking in a tray, cut rounds to tuck neatly at the bottom of each flower pot.
- Layer the garden:
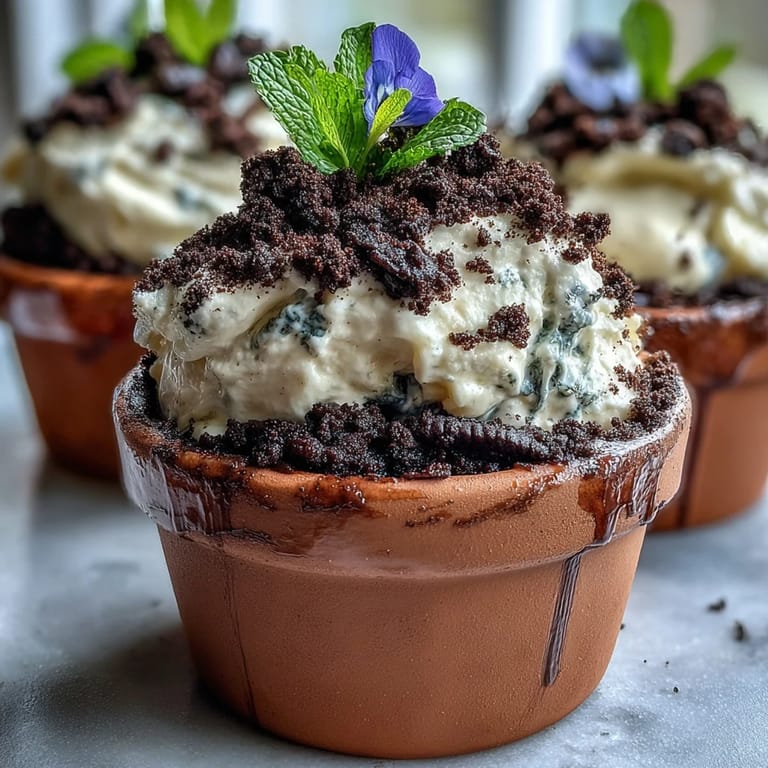
- Spread whipped cream over each brownie and shower generously with Oreo crumbs for instant 'soil.'
- Add your flowers:
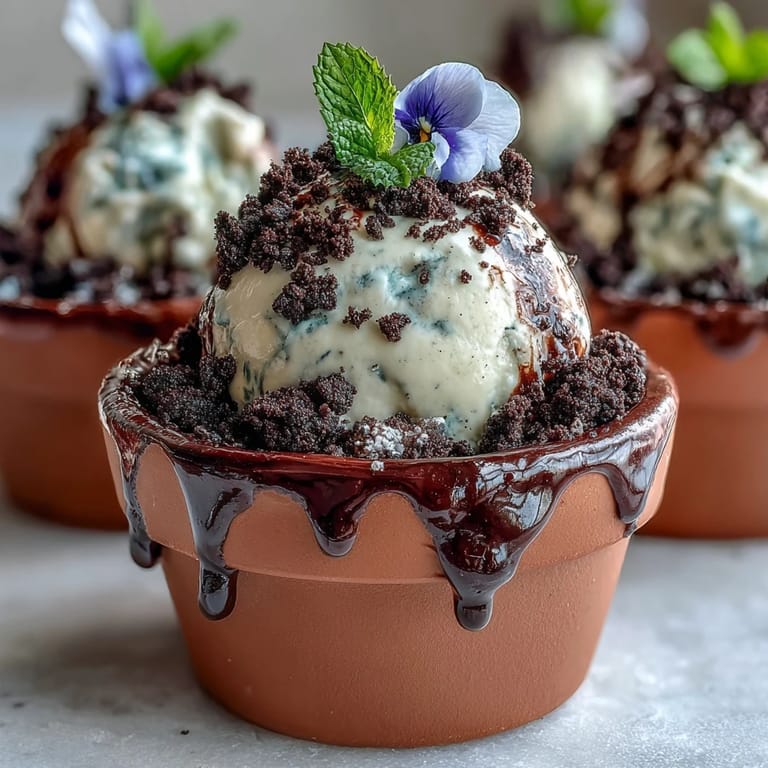
- Decorate with edible flowers, playful gummies, or a sprig of mint to finish the scene. Take a moment to admire your tiny gardens before popping them in the fridge to chill.
 Pin it
 The first year my niece helped, she artfully plopped blossoms upside down and assigned each pot a 'flower personality.' Suddenly, dessert doubled as a table centerpiece, and our kitchen was filled with giggles. That’s when I realized these brownies could be as much about shared creativity as taste. Watching everyone swap pots, trading colors, and crafting edible bouquets added a little extra sweetness to the celebration. It's a dessert that still lingers in my memory as the perfect excuse to play with your food.
Choosing and Using Edible Flowers
Not all flowers are safe to eat, so I always grab mine from a trusted local farmer or the specialty grocery. Pansies and violets are reliable favorites; they’re mild, slightly sweet, and look beautiful perched in 'soil.' Make sure you rinse and pat them dry, removing any stray stems. Here's a tip: set the flowers on just before serving so their color stays vibrant. That way, your dessert garden looks freshly picked, right to the last bite.
When Store-Bought Brownie Mix Is a Lifesaver
There are days when baking from scratch just isn’t on the agenda, and honestly, a good boxed mix will still give you delicious results. If I’m pressed for time, I’ll jazz up a store-bought mix with an extra spoon of cocoa or a quick handful of chocolate chips. No one’s ever caught on unless I let it slip, and it still gets demolished just as fast. The biggest trick is not to overbake—err on the side of a gooey center, always. Fancy presentation is so forgiving that even a shortcut still tastes special.
Tools That Make This Recipe a Joy
Oven-safe mini flower pots aren’t just cute—they turn brownies into portable gifts (and washing them is easier than you'd think). A sturdy whisk works wonders for rich, glossed batter, but using an electric mixer for whipped cream guarantees fluffiness on the first try. If you don’t have a food processor for the cookies, smashing Oreos in a bag is practically a stress reliever. Clean, dry hands are your most reliable decorating tool here, and you'll find it's fun to get a little messy with the assembly.
- Let the assembled pots chill at least 30 minutes before serving for tidy layers.
- If the pots are wide, tuck in an extra layer of cream for drama.
- Don’t forget to double-check all your flowers are edible—every time!
 Pin it
 Making these brownies has become as much about that moment of surprise at the table as the chocolate itself. However you decorate yours, I hope they bring a bright spot to your own celebration—Mother's Day or any day.
Recipe FAQs
- → Can I bake the brownies in a tray instead of flower pots?
Yes — bake in a lined tray, let cool, then cut to fit mini pots or ramekins. That makes assembly easier if you don't have oven-safe pots.
- → How do I get the Oreo crumbs fine enough for the 'dirt'?
Use a food processor for the finest texture. Alternatively, seal cookies in a bag and crush with a rolling pin until they resemble coarse soil or fine crumbs, depending on preference.
- → What gives the whipped cream enough stability?
Whip heavy cream with powdered sugar to stiff peaks. Chill the bowl and beaters beforehand and avoid overwhipping; stabilizers like a small amount of mascarpone or cream cheese can help for longer hold.
- → Are edible flowers safe and where can I find them?
Buy food-safe edible flowers from specialty grocers, farmers' markets or reputable online suppliers. Rinse gently and ensure they are labeled edible and pesticide-free before using.
- → How far ahead can I assemble these?
Assemble a few hours ahead and chill. Add delicate flowers just before serving to keep them fresh. If storing longer, keep toppings separate to preserve texture.
- → Any tips for fixing underbaked centers?
If centers are too gooey, return brownies to the oven for a few more minutes and test frequently. For assembled pots, you can gently bake tray-cut brownies to finish before adding toppings.