 Pin it
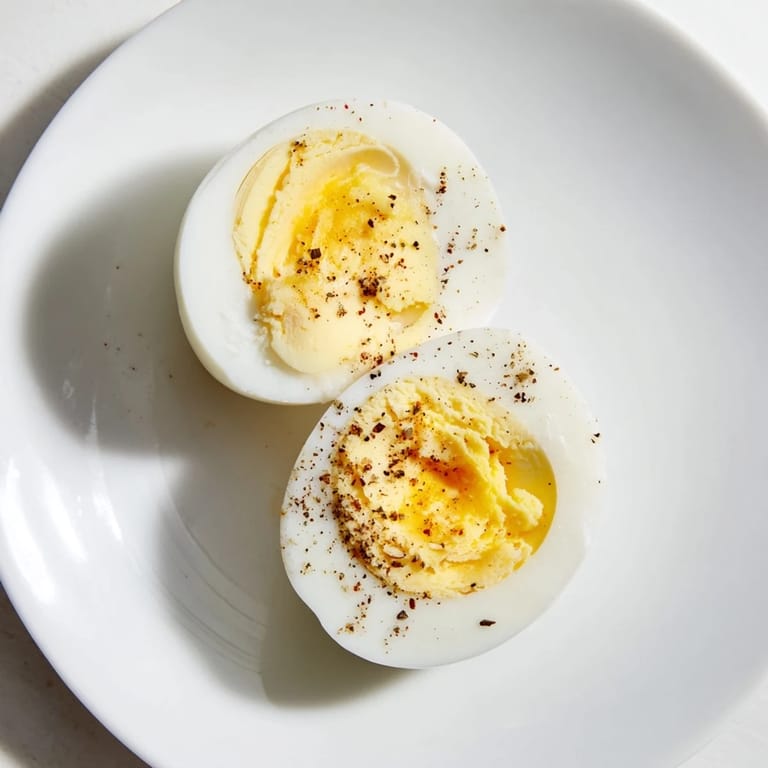
 I learned to make perfect hard-boiled eggs the hard way, after years of overcooked rubbery whites and that awful green ring around the yolk. It happened on a quiet Sunday morning when my sister visited, and I wanted to impress her with a simple breakfast spread. Instead of my usual guessing game with timing, I finally decided to treat this humble task with real care. Now, there's something almost meditative about this process—the gentle boil, the patient wait, the satisfying crack of the shell under cool running water. It's become one of those recipes I make without thinking, the kind where muscle memory takes over and the results are always perfect.
I remember making these for a picnic last summer, and someone asked if they were store-bought because the yolks were so perfectly golden and creamy. That moment made me realize that even the simplest recipes deserve respect and technique. Now whenever I'm hosting a gathering, these are always part of the spread—they've become my quiet confidence builder in the kitchen.
Ingredients
- 6 large eggs: The foundation of everything. I learned that older eggs (7-10 days old) peel so much more easily than fresh ones, which I now keep in mind when shopping. Don't stress about perfection here—these humble orbs are about to become kitchen magic.
- Cold water, enough to cover eggs by 1 inch: This is your control variable. Starting cold and building heat slowly is what prevents those unfortunate cracks that can sneak up on you. It's worth filling the pan generously.
- 1 teaspoon salt (optional): This is my secret handshake with the cooking gods. It stabilizes the water, raises its boiling point slightly, and makes peeling remarkably easier. I stopped skipping this step years ago.
Tired of Takeout? 🥡
Get 10 meals you can make faster than delivery arrives. Seriously.
One email. No spam. Unsubscribe anytime.
Instructions
- Arrange and cover with cold water:
- Place your eggs in a single layer in a saucepan—don't stack them awkwardly. Cover them completely with cold water, letting that water rise at least an inch above the eggs. This cold start is your insurance policy against cracking.
- Add salt for insurance:
- Sprinkle in that teaspoon of salt. You're not making soup, but you are creating an environment where eggs feel safe. I've learned this small step makes peeling feel almost effortless later on.
- Bring to a rolling boil:
- Set your heat to medium-high and listen for the water to come alive. You want that full, rolling boil—not a shy simmer, but real bubbles breaking the surface with energy. This usually takes 8-10 minutes depending on your stove.
- Cover and rest off heat:
- The moment the water reaches a proper boil, cover the pan with a lid and pull it away from the heat immediately. This is the magic step that separated my good eggs from my perfect ones. The residual heat continues cooking gently while you're not watching.
- Time your patience:
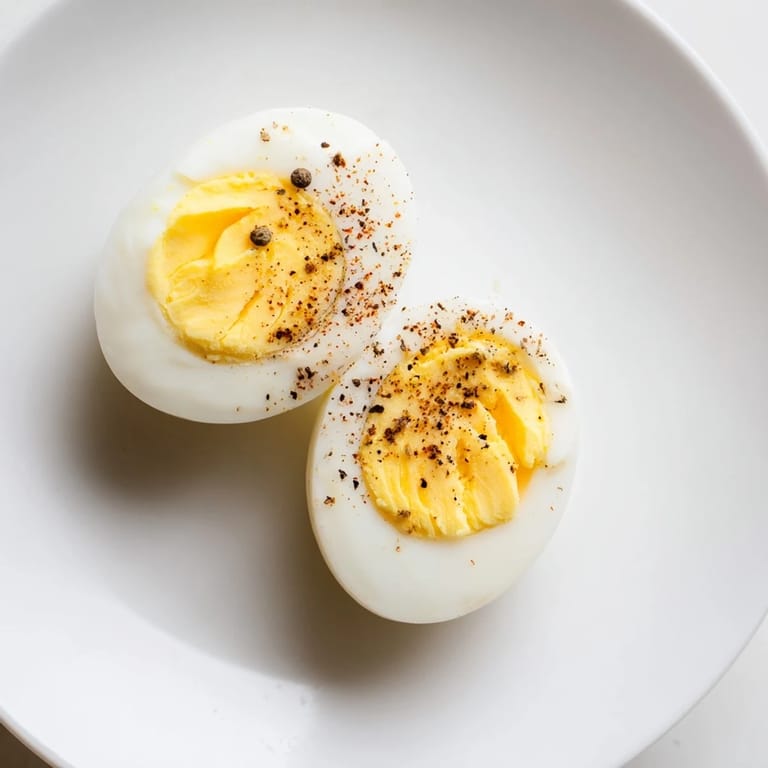
- Set a timer for exactly 10-12 minutes. I use 10 minutes when I want that barely-creamy center, perfect for a soft yet substantial bite. Go to 12 minutes if you prefer yolks that are fully set and darker golden. Don't peek—trust the process.
- Prepare your ice bath:
- While the eggs rest, fill a large bowl with ice water. This is happening while you wait, so when those eggs are ready, your ice bath is standing by like a friend ready to catch you. Cold shock stops the cooking instantly and is the secret to that perfect texture.
- Transfer to ice water:
- Use a slotted spoon to gently move each egg into the ice bath. No rushing here. Let them sit for at least 5 minutes—I often go longer because this step is where the real magic happens. The sudden cold sets everything in place.
- Peel under running water:
- Hold each cooled egg under gently running cold water and start cracking the shell all over. The water slides between the membrane and the white, making the peel come away almost willingly. This is the moment where all your care pays off in one satisfying reveal.
 Pin it
 There's a moment when you crack that first egg, peel it under running water, and see that perfect yolk sitting there golden and creamy, where you understand why people care about cooking. It's not complicated, but it's honest. That's when this recipe stopped being a task and became something I do with pride.
The Science of Temperature Control
I spent years wondering why my eggs sometimes cracked and sometimes didn't, until I understood that it's all about temperature management. Starting with cold water and a slow climb to boiling prevents the shock that makes shells fracture. The salt you add raises the water's boiling point ever so slightly and stabilizes the proteins in the egg white, which is why older eggs peel so much more easily. Once you understand this dance between heat and patience, you stop thinking of hard-boiled eggs as luck and start thinking of them as a technique you own.
Storage and Serving Wisdom
After you've cooked these beautifully, know that they'll keep in your refrigerator for up to a week, whether peeled or unpeeled. Unpeeled eggs last slightly longer since the shell provides extra protection. I store mine unpeeled and peel them only as I need them, which means fresh eggs whenever inspiration strikes. The flavors stay clean and simple, which is exactly how this recipe should be.
Ways to Finish Your Perfect Eggs
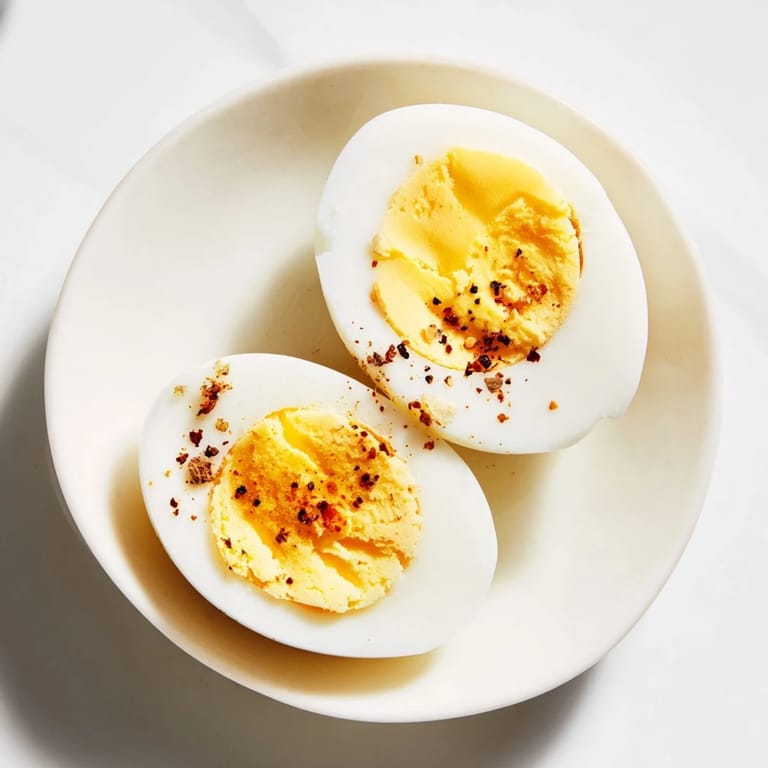
Once you have these perfect eggs, the world opens up. They're wonderful eaten plain with just a sprinkle of flaky salt and cracked pepper, which is actually my favorite way to taste what you've created. But they're equally at home in salads, on toast, sliced into sandwiches, or even as part of a simple breakfast board. The beauty of this recipe is that it gives you a blank canvas, a perfectly cooked ingredient that works anywhere.
- A light dusting of smoked paprika transforms them into something special with barely any effort
- Deviled eggs start here—this perfect base makes all the difference for those fancy presentations
- Slice them while still slightly warm for the creamiest, most beautiful presentation
 Pin it
 Mastering hard-boiled eggs taught me that every recipe, no matter how simple, deserves your full attention. These eggs are now my reliable comfort in the kitchen, the thing I know will work when I need it to.
Recipe FAQs
- → How long should hard-boiled eggs rest off heat?
Eggs should rest covered off heat for 10-12 minutes depending on whether you prefer slightly creamy or fully set yolks.
- → Why add salt to the boiling water?
Salt can help prevent eggshells from cracking and may make peeling easier after cooking.
- → What's the purpose of the ice water bath?
Cooling eggs in ice water stops the cooking process immediately and helps make peeling easier.
- → Can older eggs improve peeling?
Eggs that are 7–10 days old tend to peel more easily than very fresh eggs.
- → How to store cooked eggs safely?
Place peeled or unpeeled cooked eggs in the refrigerator and consume within one week for best quality.